June 14, 2025
Create Development Builds Without an Apple Developer Program
The title might feel a little dramatic, but it’s true: I haven’t enrolled in the Apple Developer Program, my coworker has. Here’s how I got local builds working anyway.
Also, this post is entirely focused on iOS development, so if you’re an Android developer, feel free to skip it
Why not Expo Go?
I need to build an app that uses Passkey login and FaceID authentication, but Expo Go is limited, it only includes a fixed set of native modules. Also, self-testing on real devices, not just simulators, ensures we capture the full user experience.
Make sure to install expo-dev-client first. This lets you run a custom version of the Expo Go app that includes your own native modules, development tools, and configuration, enabling a complete native debugging and development workflow.
Struggling Process
I used to struggle with creating development builds for my iPhone because simulator builds often don’t support native features like QR code scanning.
As a beginner in the Expo + React Native world, I tried running
1npx expo run:ios --devicefollowing local app compilation to create a development build on my iphone. However I encountered the following error:
DVTDeviceOperation: Encountered a build number "" that is incompatible with DVTBuildVersion.
After digging through ChatGPT and Stack Overflow, it seemed like the issue was caused by a mismatch between the iOS version on my iPhone and the version supported by Xcode on my Mac. This was confusing, since I’ve always made a habit of keeping all my devices up to date.
In the meantime, since my coworker and I didn't have an Organization Apple Developer Program(still pending approval), he enrolled in the Personal Apple Developer Program and invited me to App Store Connect.
However, my Apple account is not actually a member of his team, which means that when I create a development build on my Mac, I can't select this team in Xcode. Therefore, I don’t have access to the signing credentials associated with this team.
After going through the Expo docs several times, I managed to piece together a way to create development builds locally, and I’d love to share it with you all.
Create Development Builds for Real Devices
First, make sure you have access to an Expo Organization account. This allows you to download and use credentials that your coworker has signed and uploaded to the Expo server.
Next, install Xcode and CocoaPods to set up your local iOS build environment. Xcode provides the necessary SDKs and tools to build and sign iOS apps, while CocoaPods is used to manage native dependencies for your project.
Here are the steps:
- All the developers should register their device on /settings/apple-devices page, and then got a unique UDID(Unique Device Identifier), in the meanwhile, a provisioning profile will be downloaded on the iphone.
- The developer who is in a personal apple developer program should re-create credentials to include all UDIDs, and upload them to Expo server to replace the old one.
- Developers who didn't pay apple fees could download credentials locally and update eas.json to use local credentials when building
- Run
eas build --platform ios --profile development --localto create development builds locally, then install the ipa file on the iphone. - Run
expo startand scan the qrcode with the camera, the app will open. Just play with it.
Register your Apple Device
It's easy, just scan the qrcode and install a provisioning profile.
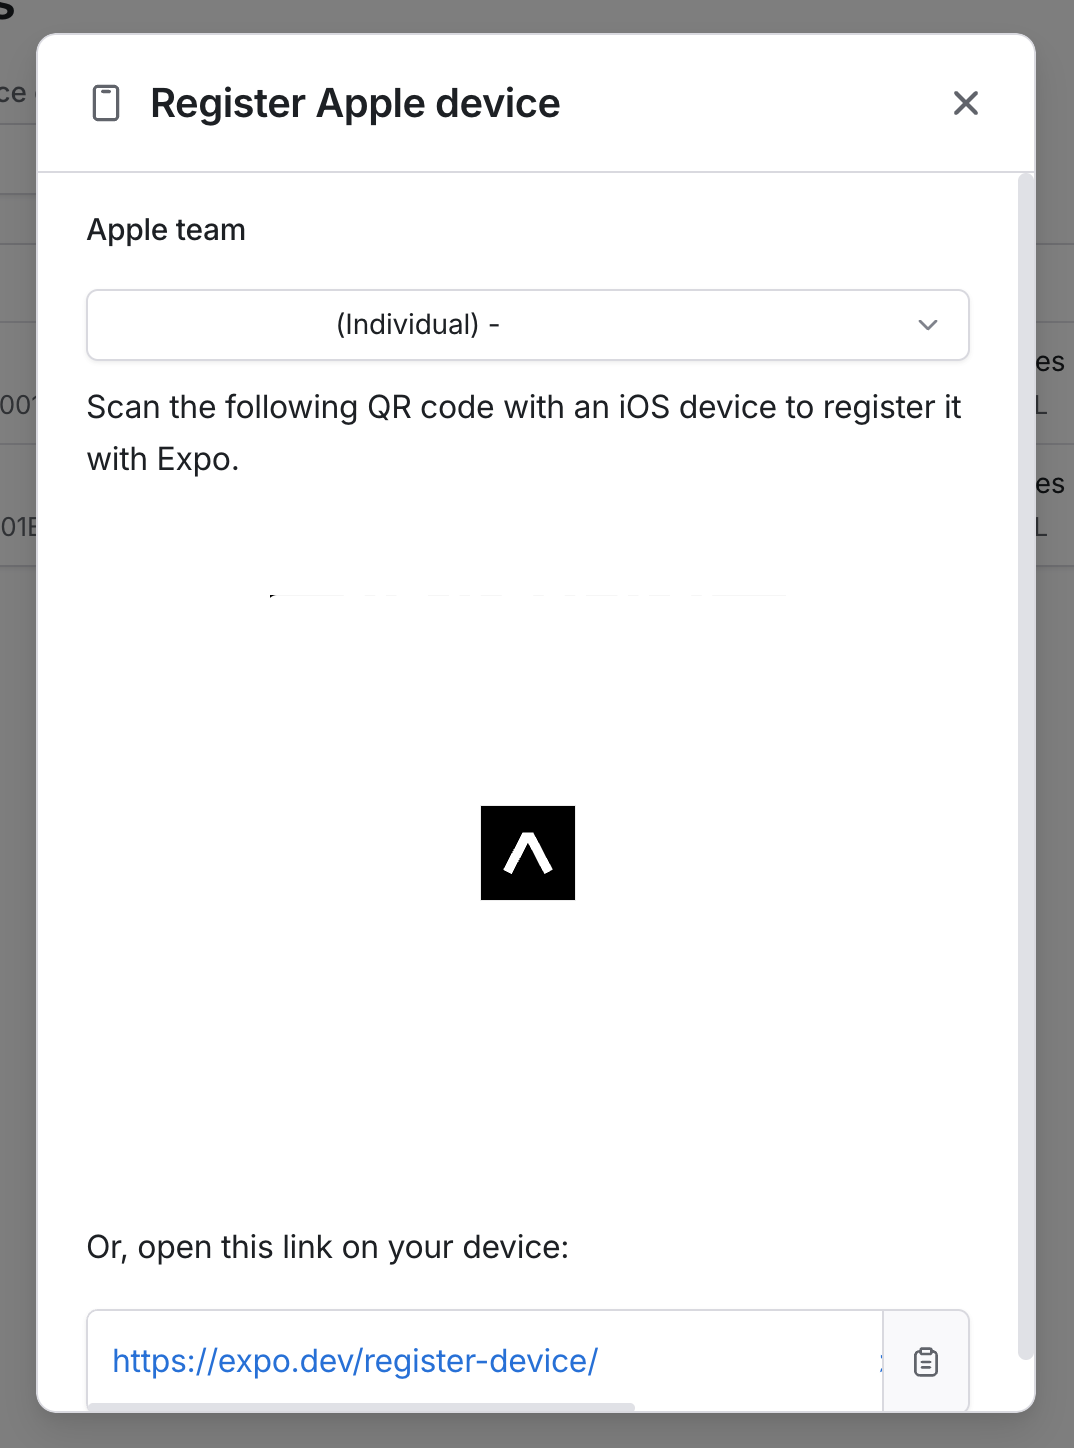
Unfortunately, I triggered iOS’s Stolen Device Protection, and Safari wouldn’t let me install the provisioning profile right away. I had to sit through the one-hour countdown before it finally worked.
This type of provisioning profile is invisible, so don’t waste time looking for it on your iPhone like I did. You can see it through Xcode.

Update Credentials to Include All UDIDs
The developer with a paid Apple account should re-generate the credentials to include all registered UDIDs, and upload the updated files to Expo server.
This ensures that the iPhones and the credentials stored on the Expo server are compatible.
You can manage the entire process with eas credentials. Simply follow the prompts to get everything set up smoothly.
Download Credentials Locally
Alternatively, developers can create development builds on EAS. This is the easiest way to build your native app, as it requires no native build tools(Xcode and CocoaPods) on your side. The builds happen on the EAS servers, which makes it possible to trigger iOS builds from non-macOS platforms.
When we were on the free Expo plan, we had 30 monthly build credits per month. After upgrading to a paid plan, every build still deducts from your monthly build credits (or incurs usage-based charges if exceeded)
During active development, we often build frequently, and concurrent build slots are limited. That’s why using --local to build locally, rather than spending credits on cloud builds, is generally a more efficient option.
So we need to download the credentials locally and use them during the build process. This way, we can take advantage of credentials associated with a paid Apple Developer account.
This step is done using eas credentials. When you see the prompt
✔ Do you want to log in to your Apple account?
Make sure to select "No". Otherwise it will push you to sign the app with your own Apple account (which I’m trying to avoid for now to skip the paid enrollment). Then, follow the prompts to download the credentials to the root of your project.
After that, update your eas.json to reference the local credentials during the build.
1{
2  "build": {
3    "development": {
4      "environment": "development",
5      "developmentClient": true,
6      "distribution": "internal",
7      "credentialsSource": "local" // add this line
8    }
9  }
10}
Everything’s ready. Time to build!
Create Development Builds Locally
Just run
1eas build --platform ios --profile development --localA quick note: the "development" in this command refers to the corresponding key in eas.json . So in the previous step, make sure you’ve added "credentials": true inside the "development" object.
If everything goes smoothly, the build will produce an .ipa file. Simply drag it into your iPhone using Xcode, and the app will be ready to launch.
Start the Development Server
Because we’re using credentials created by a coworker, before running the project locally, we need to update the appleTeamId in app.config.ts to match theirs, and also replace associatedDomains with the ones they used when signing.
Then run
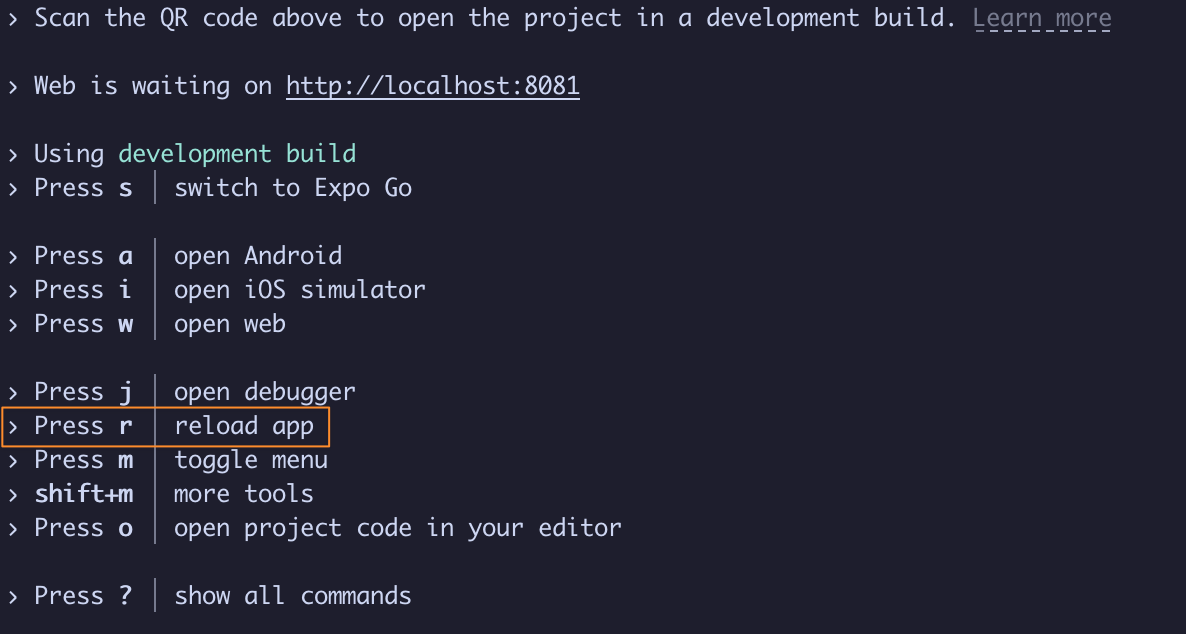
1expo startThen scan the QR code using your system's camera, the app will launch and you're free to play around with it.
Remember to re-create and download the development build after installing any new libraries that include native code. Refreshing only updates the JS layer and doesn’t apply changes to native modules
In addition, you can refresh the app by pressing Cmd+d to open the dev menu, but that doesn’t always work. Pressing r in the terminal where the development build is running is usually more reliable.
Wrapping up
This is how I’m currently developing and testing my app. It’s a bit of a hassle, but it works. I’m going to look into why expo run:ios --device isn’t working for my iPhone. I’ll come back and share what I find once I figure it out.